“Appkey Taxi” Documentation by “PT APPKEY” v1.0
“Appkey Taxi Documentation”
Created: 15/02/2023
By: PT APPKEY
Email: envato@appkey.co.id
Thank you for purchasing "Appkey Taxi". If you have any questions that are beyond the scope of this help file, please feel free to question via my support page form here. Thanks so much!
Table of Contents
Introduction - top
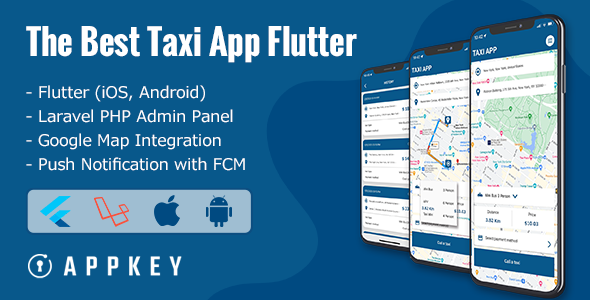
What is Appkey Taxi?
Appkey Taxi App is an online vehicle reservation application recommended for car rental businesses, online
taxi services, motorbikes for trips, etc. Built with the latest Flutter programming system, this app is
suitable for all devices and operating systems, including Android and iOS.
Getting Started - top
Start to set up the Flutter environment.
| System Requirements: | |
|---|---|
| Operating system | : macOS (64-bit); Windows 10 (64-bit), x86-64 based |
| Disk space | : 2.8 GB (does not include disk space for IDE/tools) |
| Memory | : 4 GB of RAM |
| Compatible Versions: | |
|---|---|
| Flutter | : Channel stable, 2.10.5 |
| Server Requirements: | |
|---|---|
| - PHP >= 8.0 | |
| - Ctype PHP Extension | |
| - cURL PHP Extension | |
| - DOM PHP Extension | |
| - Fileinfo PHP Extension | |
| - Filter PHP Extension | |
| - Hash PHP Extension | |
| - Mbstring PHP Extension | |
| - OpenSSL PHP Extension | |
| - PCRE PHP Extension | |
| - PDO PHP Extension | |
| - Session PHP Extension | |
| - Tokenizer PHP Extension | |
| - XML PHP Extension |
App Installation - top
This guide shows the way to install Appkey Taxi. The steps required to configure Driver and Customer are the same. After one is done you will need to repeat the steps for the other one as well.
1. Preparation - top
- Generate your Google API key based on [this].
- Prepare your domain.
- Install Visual Studio Code or Other Code Editing
2. Config Base URL - top
Change the BASE_URL Variable Presented in the App Setting File. That URL is to access all API Services From Application to your Server. Open file `/lib/core/utility/app_settings.dart` then replace with your domain.
const String BASE_URL = 'https://[your_domain]/';
const String BASE_URL_PHOTO = 'https://[your_domain]/public';
3. Google Map Configure - top
After created & enabled the billing from google cloud & map console. Add map api key change the map keys. Open file `/lib/core/utility/app_settings.dart` then replace with your google api key.
const String GOOGLEMAPKEY = "use_your_google_api_key";
After that change yours at `AndroidManifest.xml`. Open file '/android/app/src/main/AndroidManifest.xml'.
     <meta-data android:name="com.google.android.geo.API_KEY"
	android:value="your maps api key">
The latter change yours at `AppDelegate.swift`. Open file '/ios/Runner/AppDelegate.swift'
GMSServices.provideAPIKey("use_your_google_api_key")
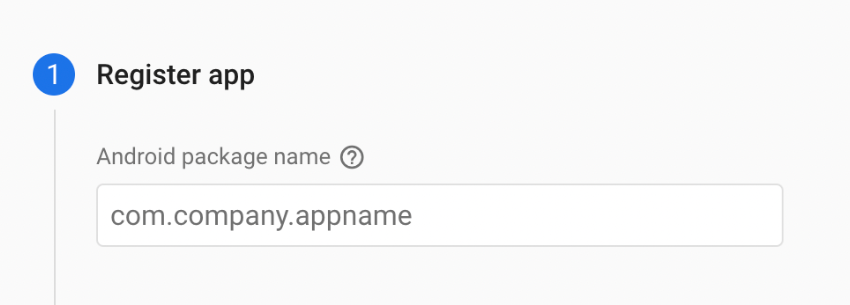
4. Change Package Name - top
Create the package name and paste it in the following files:
- Open file '/android/app/src/main/AndroidManifest.xml'
	<manifest xmlns:android="http://schemas.android.com/apk/res/android"
	package="your package name">
- Open file '/android/app/src/debug/AndroidManifest.xml'
	<manifest xmlns:android="http://schemas.android.com/apk/res/android"
	package="your package name">
- Open file '/android/app/src/profile/AndroidManifest.xml'
	<manifest xmlns:android="http://schemas.android.com/apk/res/android"
	package="your package name">
- Open file '/android/app/src/main/kotlin/../../../MainActivity.kt'
package 'your package name' import io.flutter.embedding.android.FlutterActivity class MainActivity: FlutterActivity() { } - Open file '/android/app/build.gradle'
	defaultConfig {
	   applicationId "your package name"
	   minSdkVersion 21
	   targetSdkVersion 31
	   versionCode flutterVersionCode.toInteger()
	   versionName flutterVersionName
	}
5. Setup Firebase Android - top
Head over to https://console.firebase.google.com and create 1 Firebase project using the "Add New Project" Button.
Once you have your Firebase Project, click on the Android icon in the Project Overview page and add Firebase to your Android application.
For the package name, use the package name from the one you created above.
Download the google-services.json file and find it. We place it in our flutter project in the following path "android/app/".
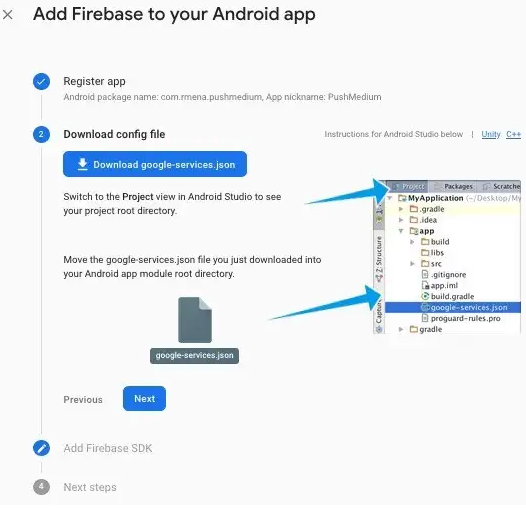
And then fill this field in the following path "lib/firebase_options.dart".
	static const FirebaseOptions android = FirebaseOptions(
		apiKey: 'your api key',
		appId: 'your app Id',
		messagingSenderId: 'yout messaging sender Id',
		projectId: 'your project Id',
		storageBucket: 'yout storage bucket',
	);
6. Setup Firebase iOS - top
Now head over to the Firebase project https://console.firebase.google.com/ and create projects IOS for with the bundle Identifiers you have assigned previously.
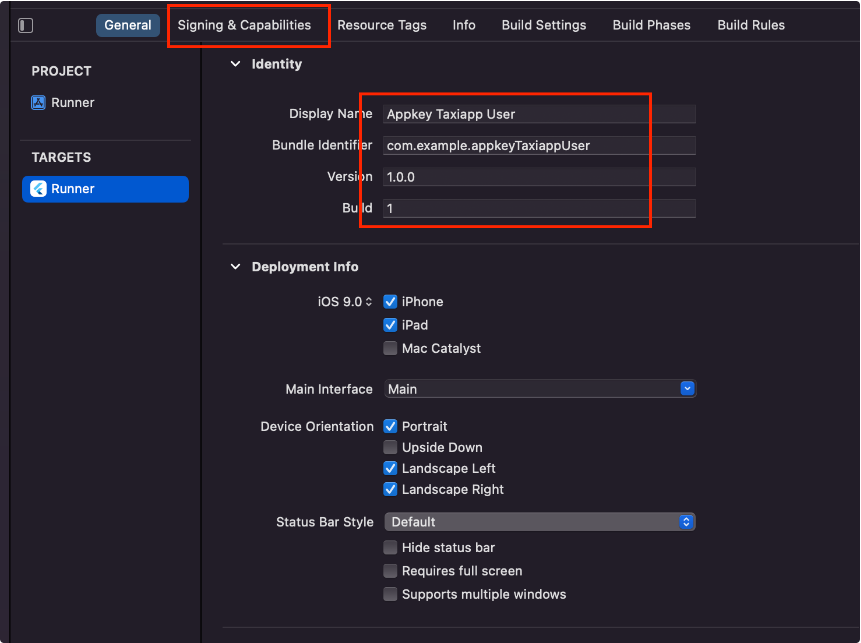
Go to the ios folder and open the workspace file in Xcode.
In the left panel select the Runner Project and here you can see something like the below picture.
You will need to fill the Display Name and Bundle Identifier with the ones of your choice.
And then on the same page go to the "Signing & Capabilities" Tab.
Here you will need to select the development team with your Apple developer account so Xcode would make necessary adjustments on your Apple Developer accounts such as Identifiers.
It will also let you know if Bundle Identifier you have chosen is available or not.
If available it automatically reserves it for you.
7. Run the aplication - top
Run like normal Flutter's app with:
flutter pub get
flutter run
Admin Installation - top
This guide shows the way to install Admin Panel Taxi. let's start:
1. Install Composer - top
Composer is a tool for dependency management in PHP. It allows you to declare the libraries your project depends on and it will manage (install/update) them for you (getcomposer.org).
You can follow the instructions on this website https://getcomposer.org/doc/00-intro.md#installation-linux-unix-macos
2. Setup Project - top
- Unzip the code after you downloaded.
- Go to the folder application using cd command on your cmd or terminal.
- Run composer install on your cmd or terminal:
composer install
- Copy .env.example file to .env on the root folder.
- Open your .env file and change the database name (DB_DATABASE) to whatever you have, username (DB_USERNAME) and password (DB_PASSWORD) field correspond to your configuration.
	DB_CONNECTION=mysql
	DB_HOST=127.0.0.1
	DB_PORT=3306
	DB_DATABASE=taxi
	DB_USERNAME=root
	DB_PASSWORD=
	DB_TIMEZONE=Asia/Kuala_Lumpur
- Run php artisan key:generate. This command is used to generate a new random key for the application, which is used for encrypting user sessions and other secure data in the application.
php artisan key:generate
- Migrate the data with the default user login, run this command:
php artisan migrate:fresh --seed
- Configure your SMTP on your .env file with your smtp account.
MAIL_MAILER=smtp MAIL_HOST=mailhog MAIL_PORT=1025 MAIL_USERNAME=null MAIL_PASSWORD=null MAIL_ENCRYPTION=null MAIL_FROM_ADDRESS="hello@example.com" MAIL_FROM_NAME="${APP_NAME}" - Add your GOOGLE MAP API KEY to .env file for build the map.
GOOGLE_API_KEY= "use_your_google_api_key"
3. Run the aplication - top
Run the aplication, php artisan serve. Your website ready to use.
php artisan serve
Login with the default
username: envatotaxi
password: envatotaxi
Usage - top
After you finish the installation process, then we will explain how to use this system.
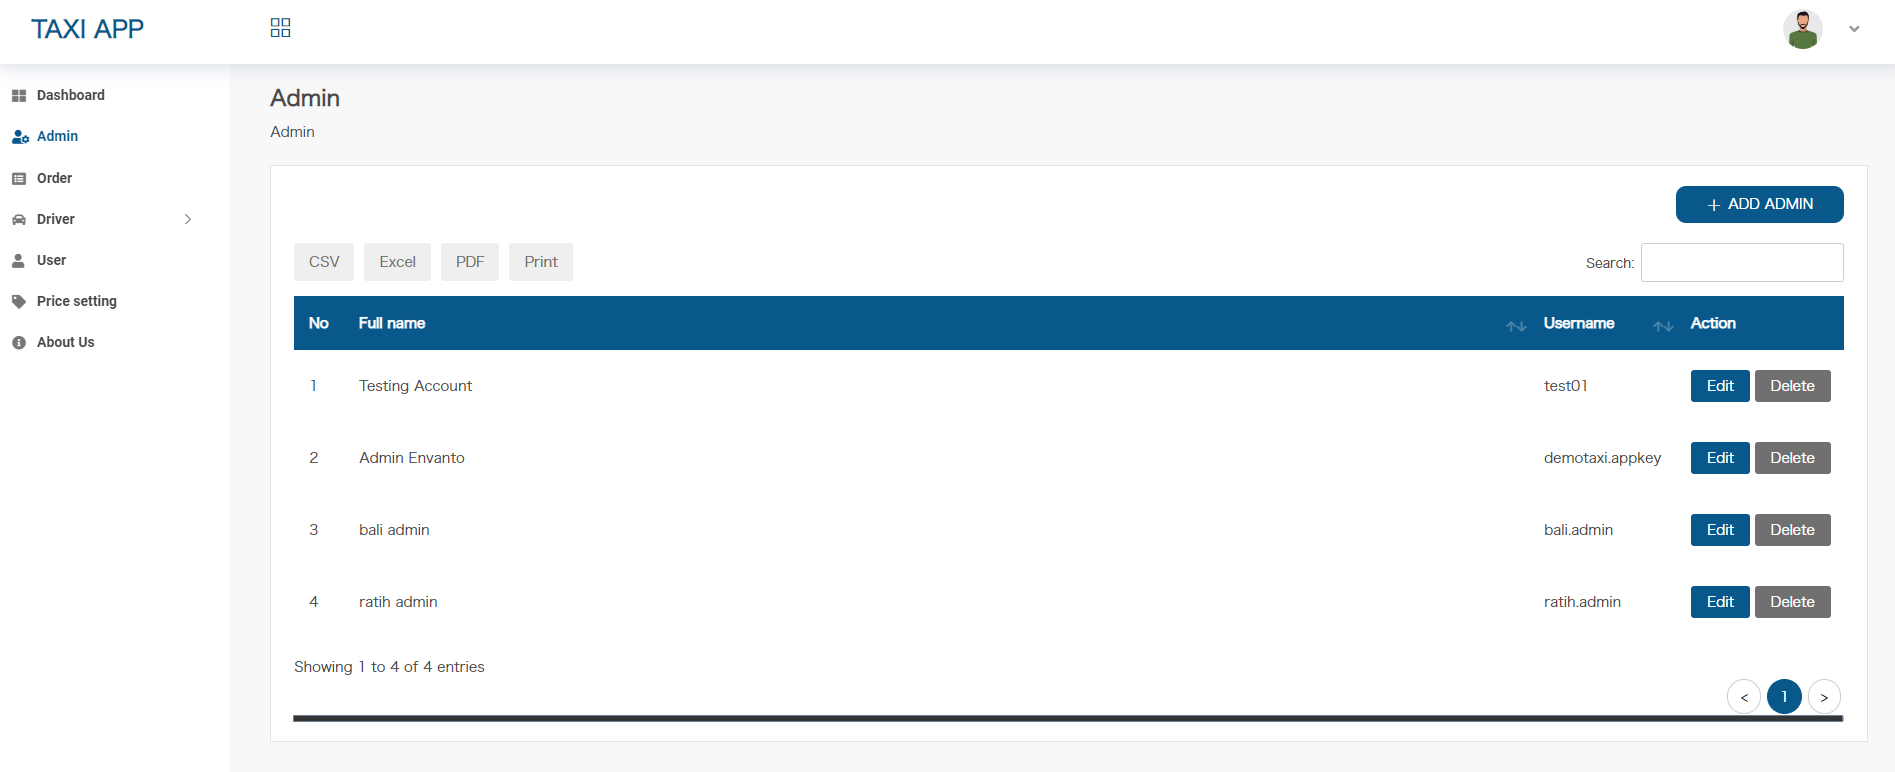
1. Admin Management - top
Used to manage admin accounts. You can add, change, delete data admin through this page.
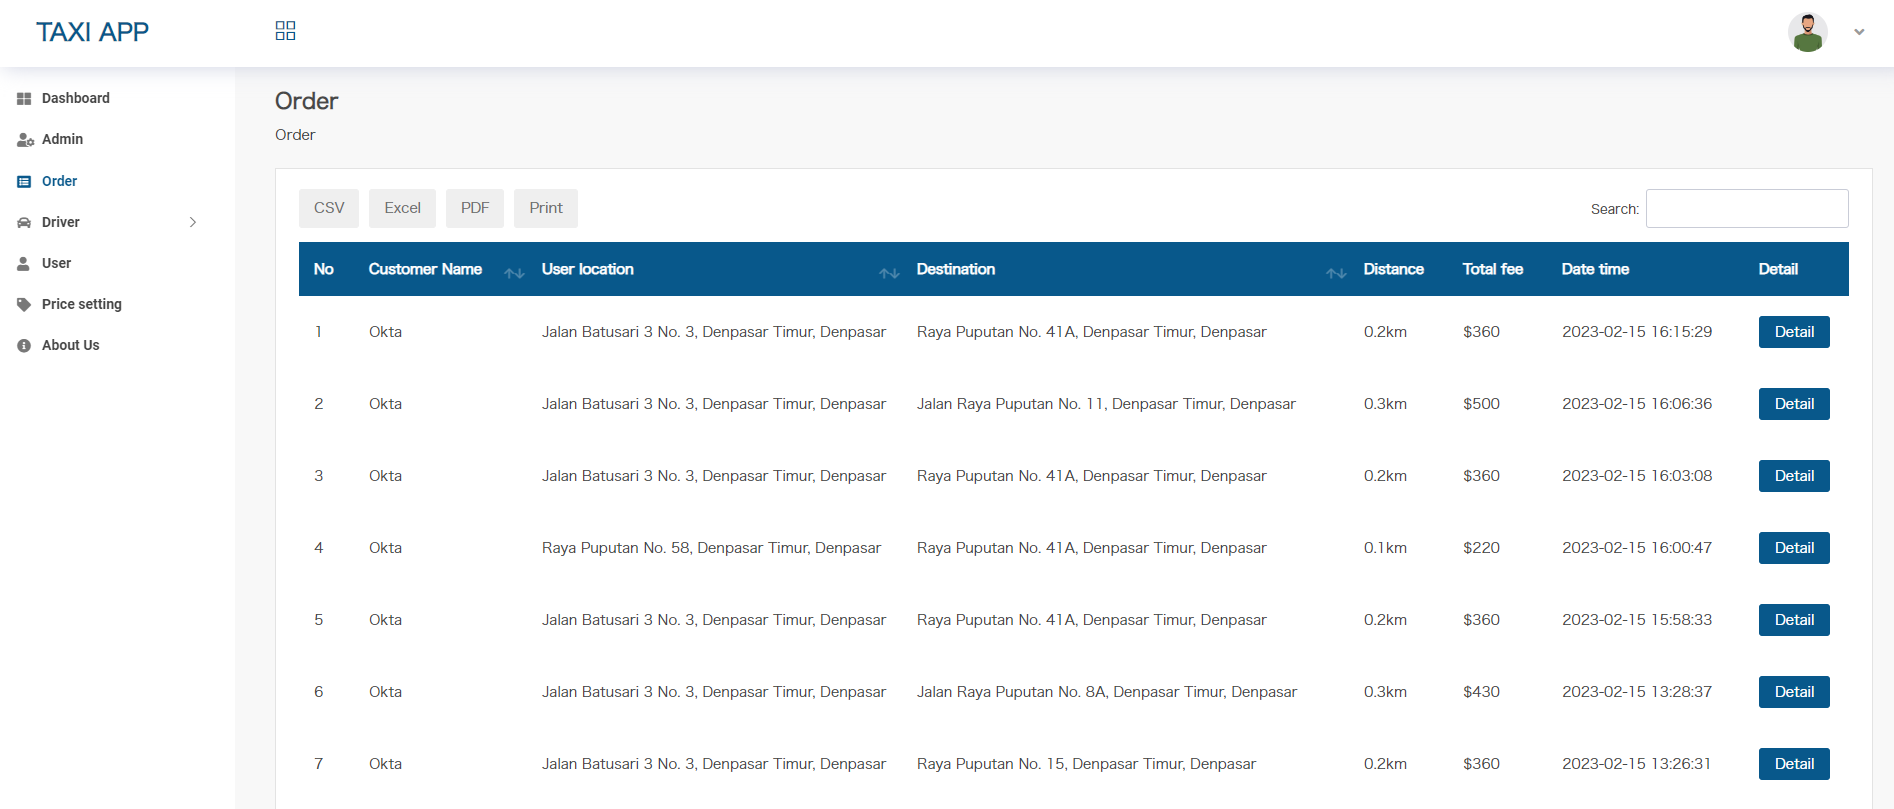
2. Order Management - top
You can see every order data that enters the system on this page.
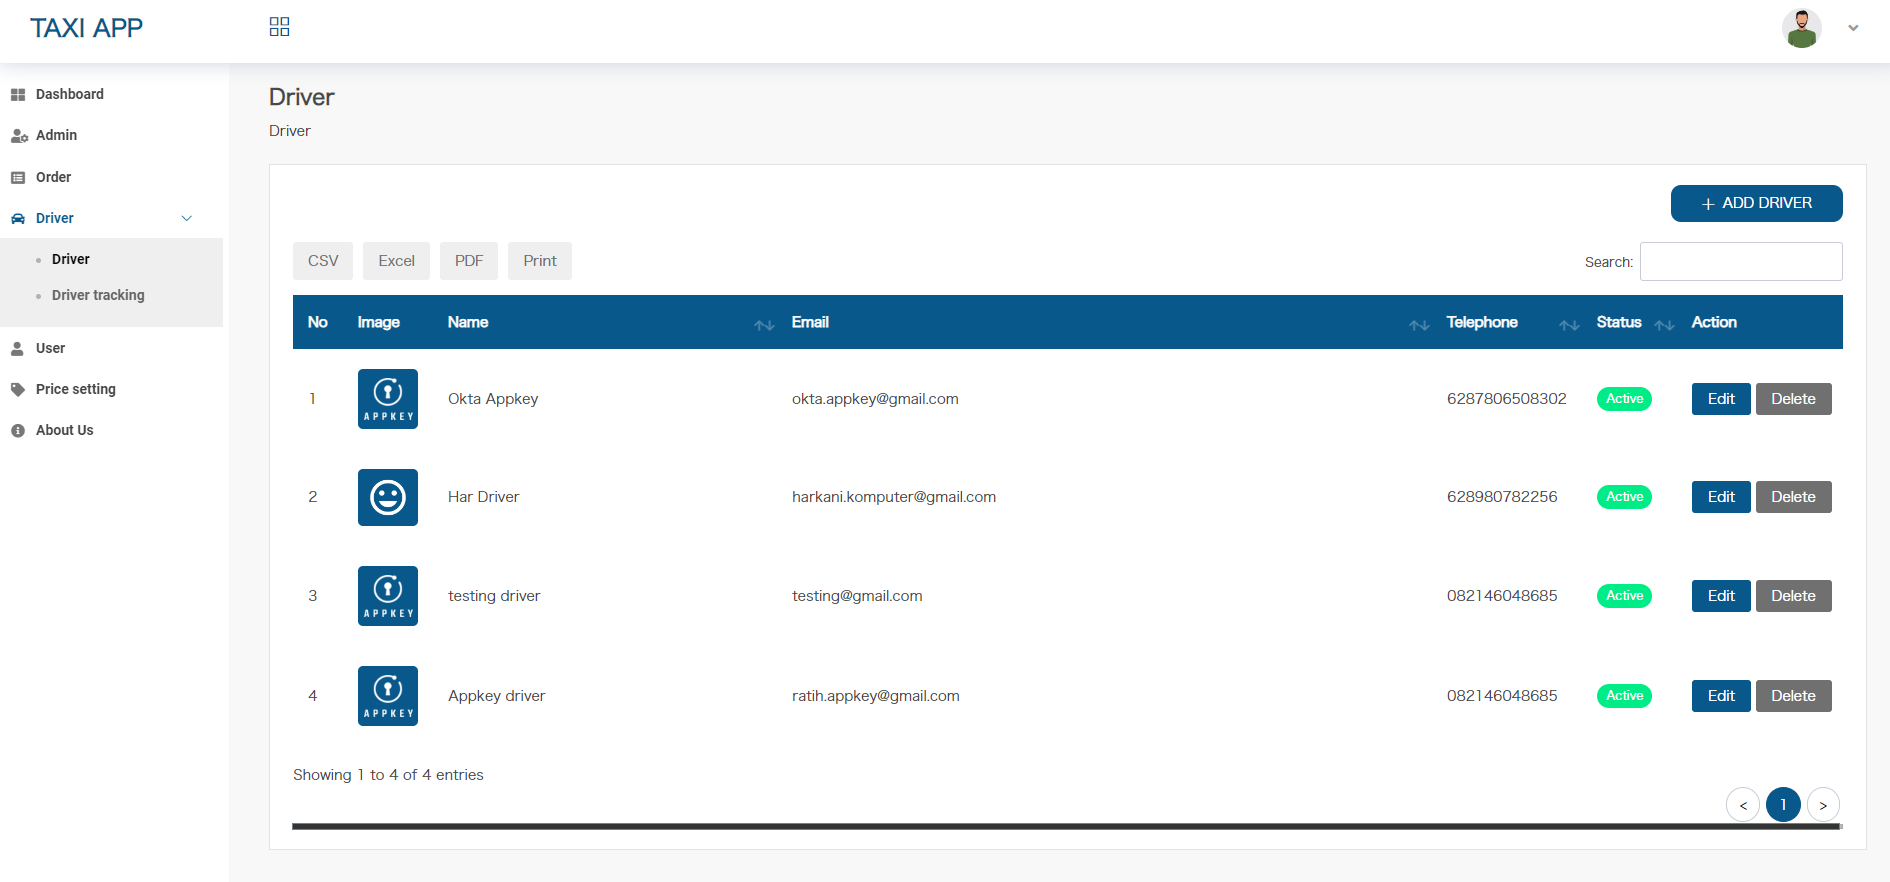
3. Driver Management - top
Used to manage driver accounts. You can add, change, delete data driver through this page.
4. Driver Tracking - top
Used to monitor the current driver location.
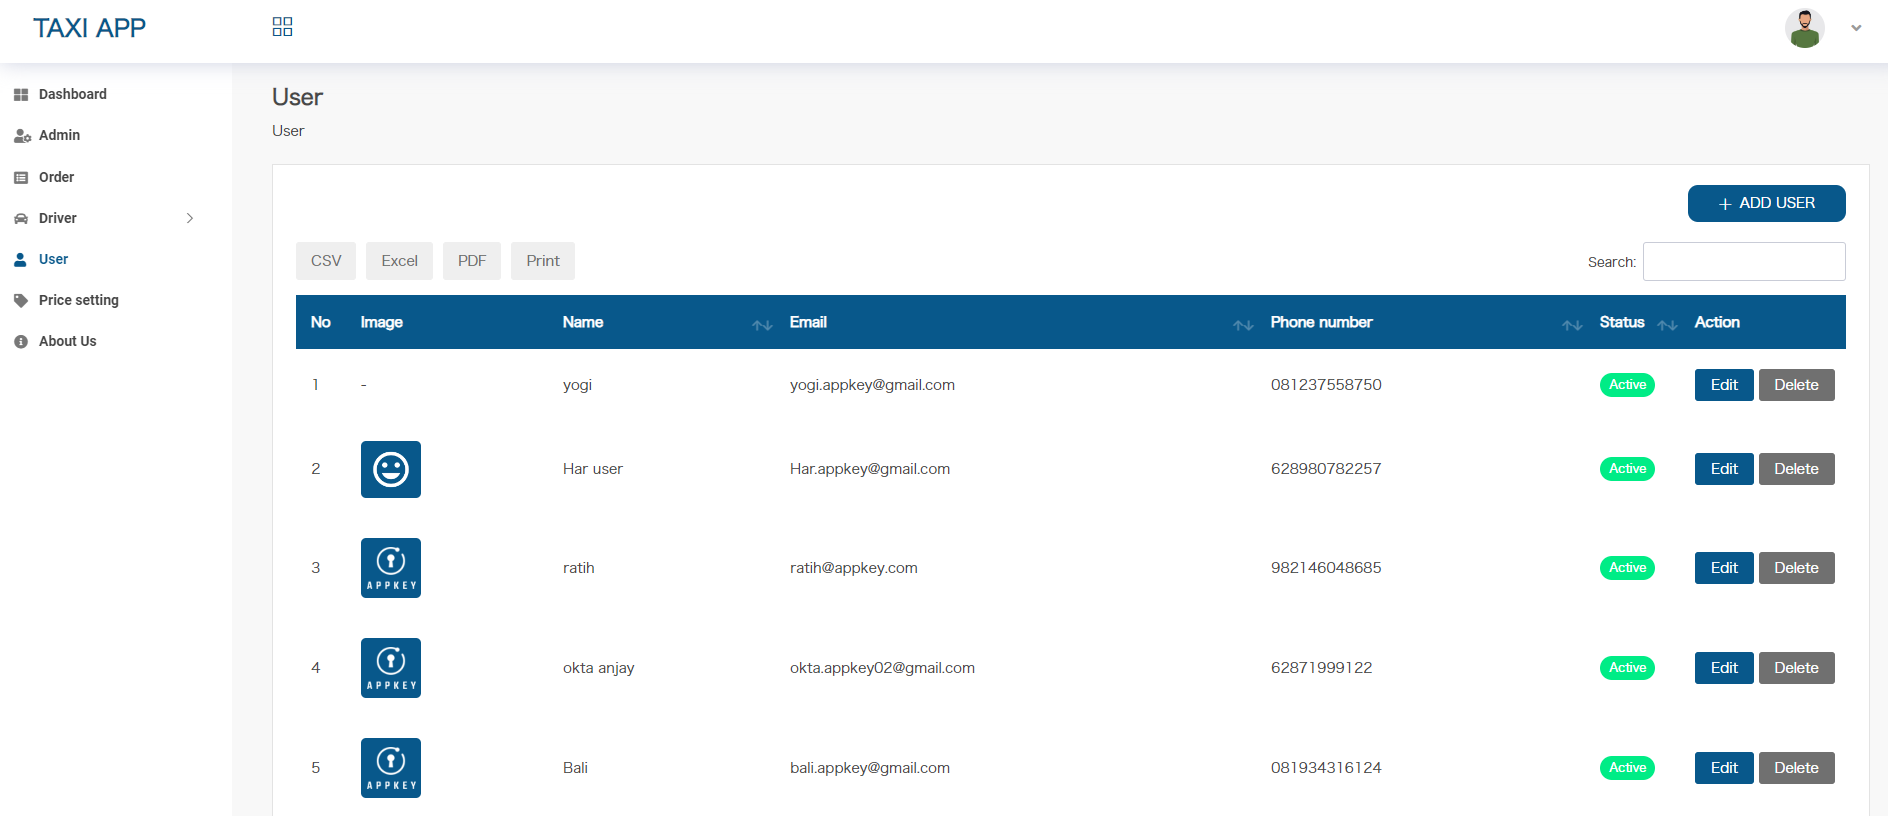
5. User Management - top
Used to manage user accounts. You can add, change, delete data user through this page.
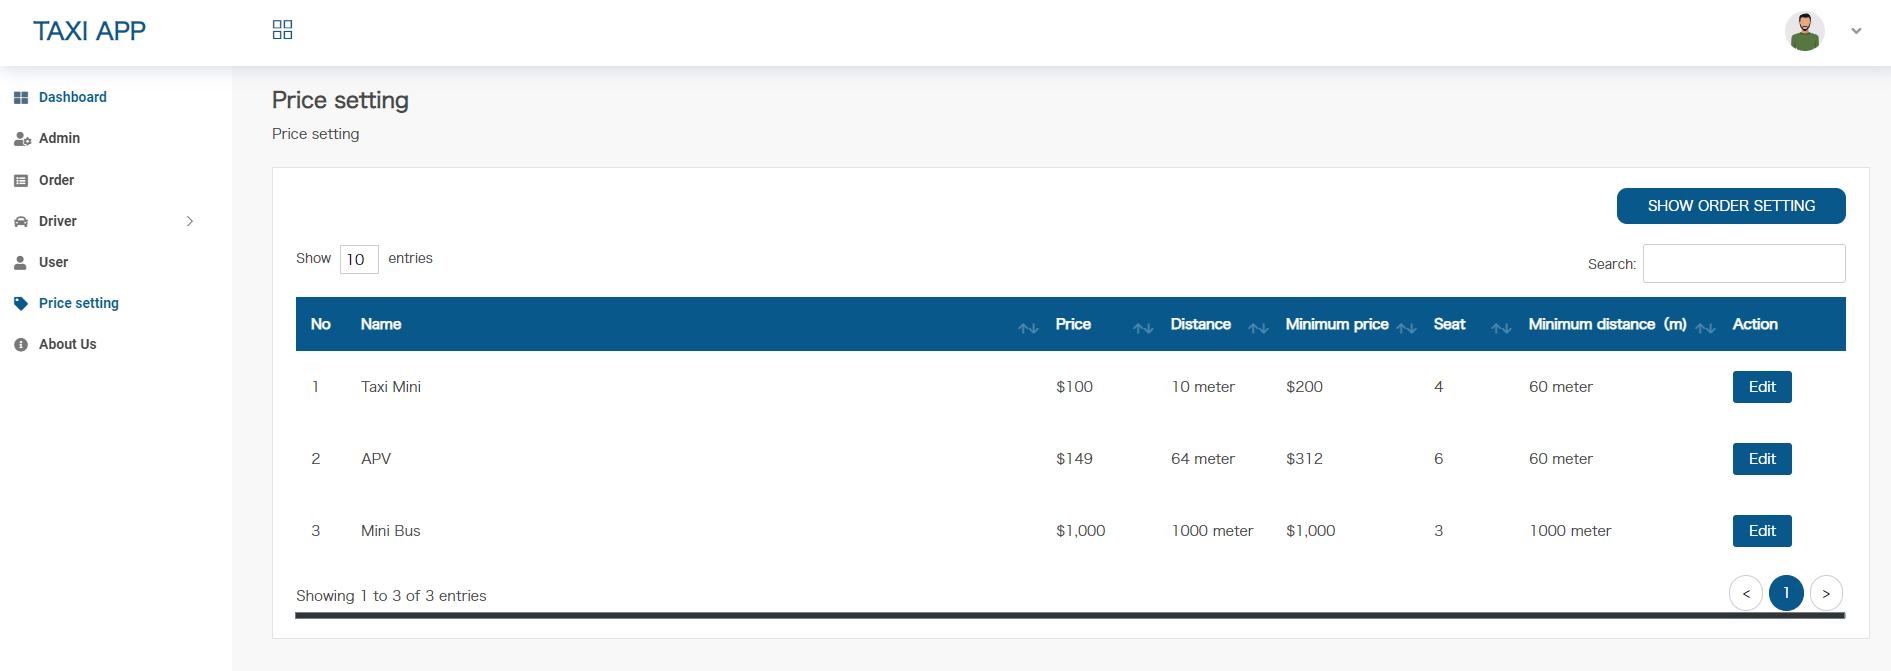
6. Price Setting - top
Used to manage data products. You can add, change, delete data product, setting discount and late night service through this page.
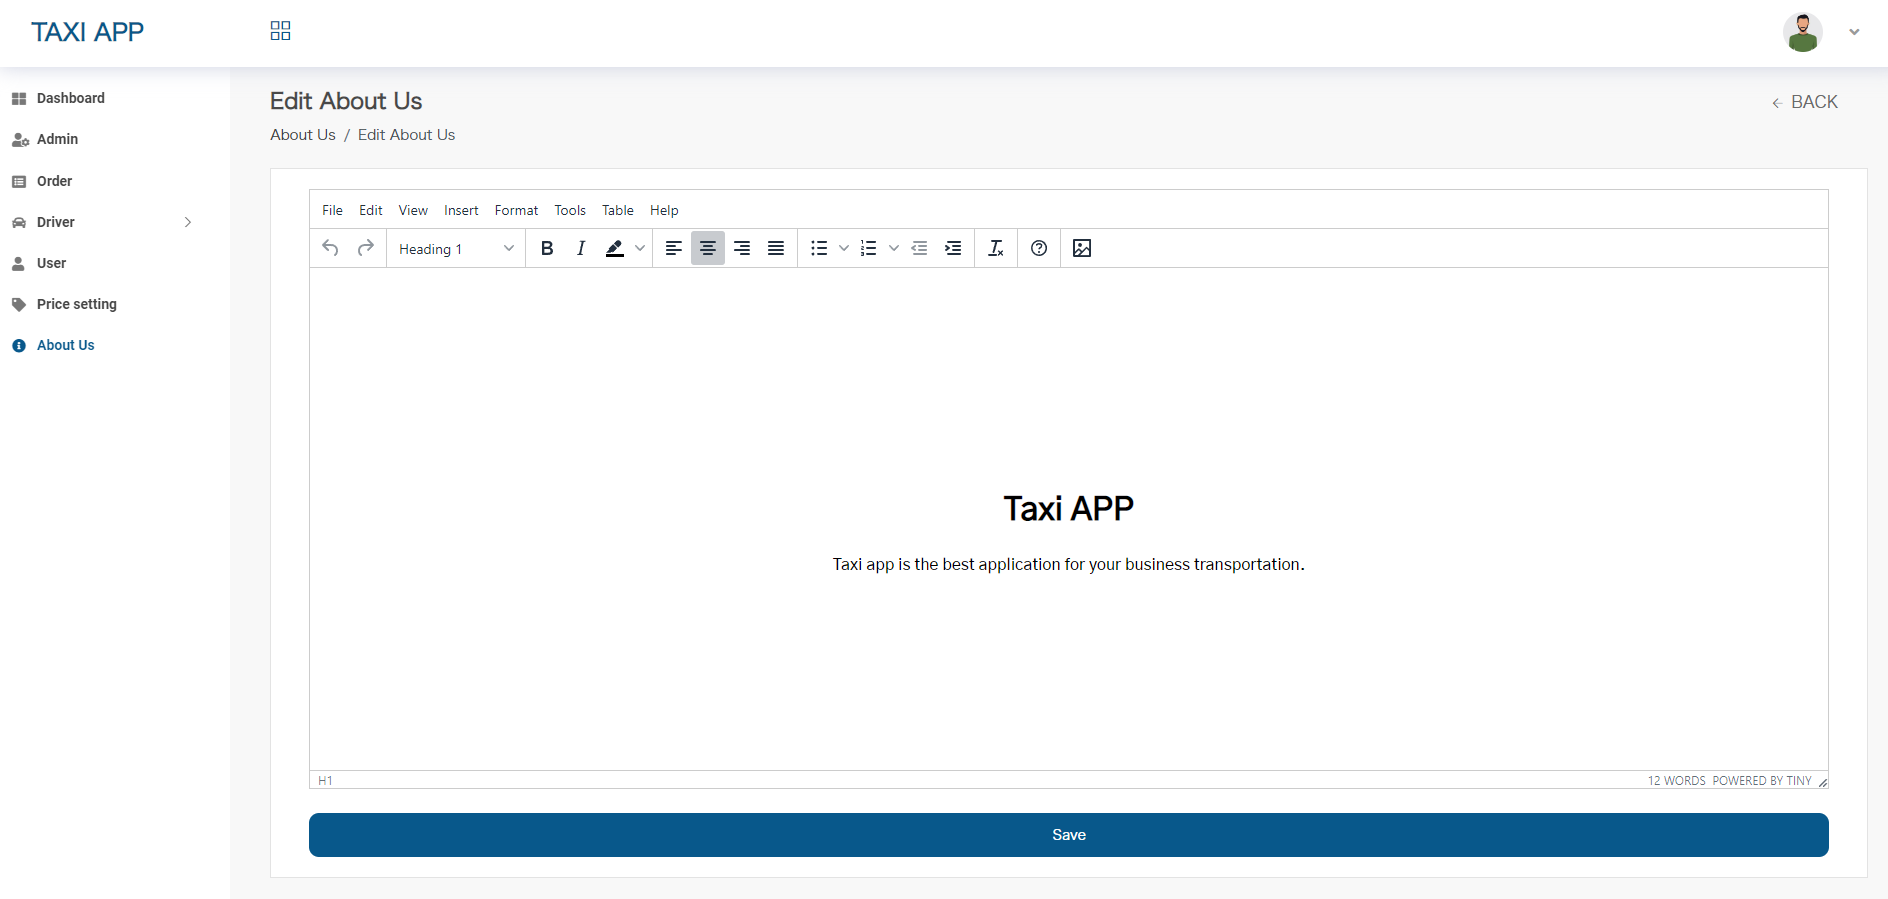
7. About Us - top
You can add a description about the application on this page.
Support - top
All our buyers are eligible for support. For post-sale support, buyers are encouraged to use our support site.
1. FAQ - top
If this Q & A does not resolve your problem, please feel free to contact us here.
DOES THE SERVICE SUPPORT ANDROID OS UPDATES?
We will upgrade, fix and update the app to make it suitable with the latest Android OS update (if any).
WHAT IS THE MINIMUM OS TO RUN THIS APPLICATION?
This app can be used in Android system 4.0 and newer.
CAN THIS APPLICATION BE USED WORLDWIDE?
Yes. The Taxi app is now available worldwide since the maps have been synchronized globally.
CAN I ADD MORE DRIVERS?
Yes. You can do the maintenance for drivers’ data (i.e., adding, editing, or deleting) in the Admin Panel section.
CAN THE USER TRACK THE LOCATION OF THE DRIVER?
Yes. The app has a built-in feature to track the driver’s real-time position. Users will see their trip’s progress through the GPS data of drivers.
CAN THE USER SEE THE TOTAL AMOUNT OF DISTANCE AND BOOK FARE?
Yes. Users can see their trip's distance and fare before confirming the order.
IS THE USER ALLOWED TO SEE THE ORDER DATA?
Yes. Users can look up their order data on the list order menu.
CAN THE USER CANCEL THE ORDER?
Yes. User can cancel the order for whatever reason by simply clicking the cancelation button on the app. The book in progress will be automatically revoked.
2. Contact Us - top
We can undertake customized development of your app. Please contact us with your desired app specifications. We will provide you with a quote. Don’t Hesitate To Ask Us About Anything.
PT APPKEY